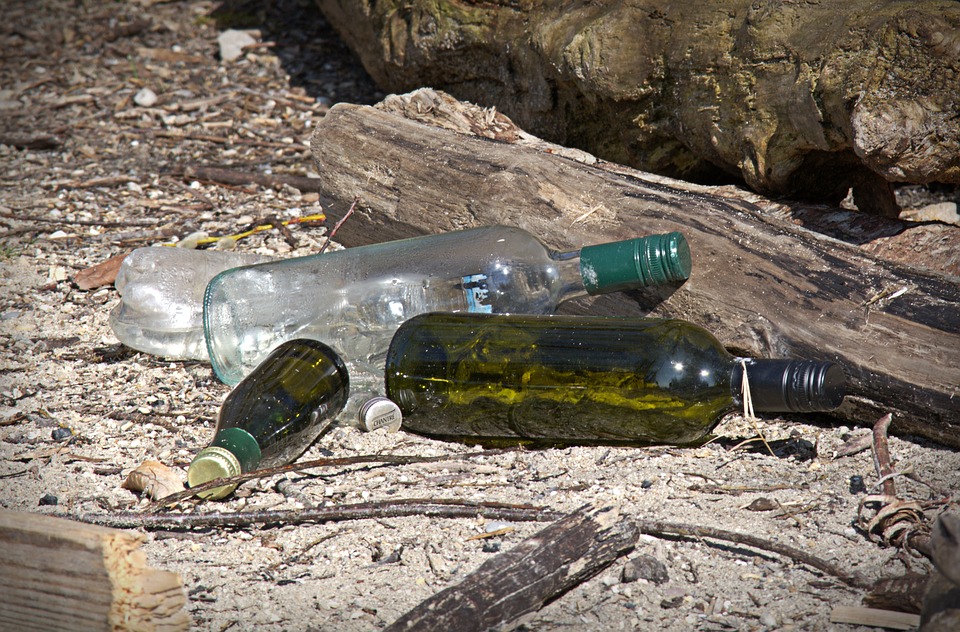
Even though plastic bottles are far more common that glass ones, being able to reuse the latter is also an important skill to learn. Even if plastic bottles become rare quickly in the post crisis world, the permanent and more durable nature of glass bottles means you may have better access to them.
No matter whether you dig around in a smaller junk pile or turn up glass bottles while plowing a field, these bottles can still be cleaned and reused for many purposes.
By contrast, a plastic bottle in the same condition may not be of use at all. As you learn more about the ways glass bottles can be reused, consider adding them to your stockpile, and using them now for your prepping needs.
This Device Easily Turns Air Into Water!
Here are a few tools to have on hand when working with glass bottles:
- Heavy work gloves – when scoring and breaking glass, heavy work gloves are extremely important. Even one shard of glass can cut deep enough to sever smaller nerves in your fingers or leave an open wound that will get infected easily. Never forget that cutting glass can be both fun and productive, however it can also be very dangerous if you don’t use the proper safety precautions.
- Goggles – if you though the risk to your fingers and hands was high, the damage to your eyes can be much worse. As with a number of materials that you might need to work with as a prepper, glass is valuable but it can also cause many injuries that you weren’t planning or thinking about.
- Glass bottle cutter – you can purchase a stationary cutter that will keep the bottle in place as it is being scored, or you can make one on your own. If you decide to make one, be sure to choose a good quality cutter so that you can avoid replacing it as much as possible.
- Handheld glass cutter – as you become better at cutting glass, there may be different shapes that you will want to cut into the glass. A hand held glass cutter does take some practice to master, however it is well worth the effort.
- Sanding blocks – glass is always going to have sharp, uneven edges along the scoring track. Use a sanding block to smooth out these rough areas and other dangerous edges. Do not use sandpaper without a good sturdy block behind it because glass can splinter easily and find its way through the paper backing.
- Wood for making scoring guides – even if you are an experienced glass cutter, a wooden guide can help keep the score marks on a precise track and enable you to work faster.
- Ruler ,paper, compass, protractor
- Lightweight oil – in order to get the most out of the cutting wheels, use a little bit of oil on the glass so that the cutter does not wear as quickly.
- A clean, perfectly smooth work surface – this is absolutely essential while you are cutting. Even a small bump or bit of debris can cause the glass to crack. Remember that glass is extremely brittle, and the scoring process will increase that problem.
Skills You Need to Master
Creating Score Lines
Good score lines aren’t necessarily deep, but they must be consistent. You should hear a crackling sound as the glass cutter moves over the glass. If you see white dust building up along the sides of the cut, then you are putting too much pressure on the cutter.
Snapping the Glass
Breaking glass after creating the score line is truly a fine art. If you don’t it with just the right amount of pressure on both sides of the cut, then the glass may break in places other than on the score lines.
You can try tapping the glass along the score more mark prior to snapping the glass, however that will not make up for poor snapping technique. In some cases, if you tap too hard in order to get a break through the the thickness of the glass, it will go off track worse than if you just snapped the glass without trying to create even breaks along the score line.
When snapping glass, do not forget to wear heavy gloves and goggles. As someone that has been cutting glass for many years, I can tell you that even the best will wind up with glass that breaks at or near the fingers or have shards fly into the air.
Video first seen on Shake the Future.
How to Reuse Glass Bottles
Here are a few ides for reusing glass bottles in the easiest way:
Fermentation Vessels
Not all reuses involving glass bottles involve cutting the bottle. In this case, you can ferment new wine easily enough in old wine bottles (gallon bottles work well). Just wash out the bottle, let it air dry, and then fill it up with the liquid when you are ready to separate it from the mash.
When you cap the bottle, leave it a bit loose so that air can escape. As the wine continues to ferment, white debris from the yeast will accumulate in the bottom of the bottle. This “debris” is Cream of Tartar, which is used as a leavening agent. It is especially useful in recipes that use eggs as a leavening agent because it stabilizes them better than flour (in cheesecakes, etc).
Video first seen on The One Minute Brewer.
Food Storage
Wide and narrow mouth glass bottles can be used for storing foods. You can store away dried herbs, soups, or just about anything else that can be poured out of the vessel. As with fermentation, you do not need to cut bottles in order to use them for food storage.
If the cap/lid is worn or does not seal well, just add a plastic bag over the mouth of the bottle and then put the cap on.
Smaller bottles can also be used as herb, salt, and pepper shakers. You can drill holes in the cap, and then use the bottle like any other shaker. Remember that if you are not going to use the herbs for some time, either replace the cap with holes with one that is solid, or place some plastic between the cap of the mouth of the bottle.
Plant Cutting Starters
There are several ways to use bottles as plant cutting starters. If the plant will root in water, simply clean the bottle thoroughly and let it air dry. Next, just put some water in the bottle and place the cutting so that the cut end sits in the water.
Depending on the species of plant, the cuttings may start showing roots in a matter of days, or it can take a few weeks. Just make sure that you put the plants in soil before the root system gets too big to pull from the bottle without causing breakage.
Remember that when it comes to plant root systems, it is the fine hairs at the end of the roots that are vital for pulling water and nutrients into the plant. If you damage those or cause breakages up the line, it will increase the risk of root rot, transplant shock, and poor growth.
Soap Dispensers
Depending on the size and shape of the bottle, you may not need to cut it down in order to use it as a soap dispenser. All you need is a soap pump that has a tube long enough to reach to the bottom of the bottle.
You can cut a hole in the cap to fit the pump in, or make one from some other material. If you have to cut the bottle down in order to create a large enough open area for the pump, then you will need material other than the cap to make a platform.
Video first seen on Craft Innovations.
Candle Holders
If the bottle mouth is small enough, it can be used as is for tapers. For other candles, such as votives, tea lights, and pillars, you may need to cut the neck off the bottle so that there is enough room to place the candle in the bottom of the bottle. If you are very good at cutting glass, you may also want to cut designs into the sides of the glass to create beautiful lighting effects.
Chimney style candle holders can also be constructed by cutting the bottom off the bottle. Put a fireproof tray under the candle, and then set the “chimney” over the tray and the candle. Unfortunately, if soot develops on the sides of the “chimney” you may wind up disposing of the bottle if you are unable to remove these deposits.
Video first seen on Saeid Momtahan.
Lamp Bases
To use a glass bottle as an electric lamp base, you will need to cut a hole on the wall of the bottle near the bottom so that the wire can go through. Since incandescent lamp sockets can get quite hot, it is best to build a platform from wood that will cover the mouth of the bottle, and then use a metal riser to accommodate the wire.
The riser will add some space between the socket and the body of the lamp, which will help reduce problems with excess heat.
Video first seen on HouseholdHacker.
Alcohol and Oil Lamps
Many glass bottles can be used “as is” for alcohol and oil burning lamps. Cut the cap of the bottle so that the wick fits through it (but will not fall down into the bottle), and make sure there is enough wick to reach the bottom of the bottle. You can also add an alcohol or oil burner top to he lamp so that you have an easier time adjusting the wick.
Video first seen on jiujitsu2000.
Upside Down Planters
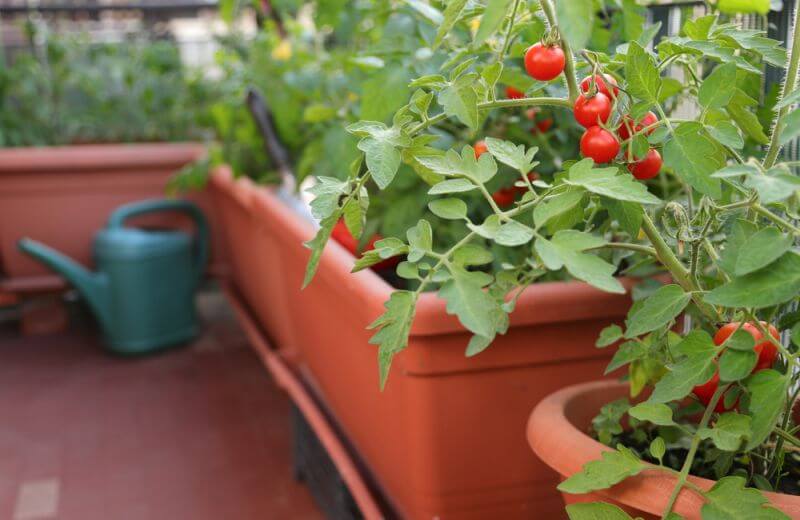
One of the most productive forms of gardening involves hanging plants upside down to grow. In particular, strawberries, tomatoes and vine plants can be grown in much smaller spaces if you use hanging baskets, or upside down planters. Narrow mouth glass bottles are perfect because they are sturdy enough to take the weight of the soil in the bottle and they will not deform in the way thin plastic bottles would.
To use glass bottles as upside down planters, it is best to cut the bottom off the bottle so that you can water the plants easily from the larger opening. I do not recommend drilling holes in the glass for hanging hooks. Instead, you can use anything form yarn to wire to create a suitable harness.
Make sure that the harness will not stretch or corrode/weaken enough to allow the bottle to slip through as time goes by. When choosing a place to hang up these planters, remember that the water will drain through the mouth of the bottle. Keep a tray under the planter, but far enough away from the leaves so that you do not wind up with spilled water all over the place.
Bird Feeder
No matter whether you are feeding young chicks or want to attract other birds to your homestead, it can be very hard to prevent the seed from being wasted. There are several versions of the glass bottle bird feeder. You can choose from models that invert the bottle, or ones where you simply cut some holes near the bottom of the bottle for the food to escape through.
If you choose the latter versions, it will take some effort to get the knack of cutting holes in the bottle. You are better served by making DIY versions of a platform that will fit over the mouth of the bottle and then use the bottle in its upside down orientation.
Video first seen on UpcycledStuff.
Greenhouse
When using glass bottles as greenhouses, you will use one bottle per plant. Basically, all you need to do is cut the bottom of the bottle, and then place the bottle over the plant. These mini greenhouses are perfect for plants that require a bit of extra humidity.
In particular, glass bottle greenhouses are useful for rooting cuttings from woody stem plants that must be placed in soil. The glass bottle covering gives you an easy way to control moisture and temperature. As the cuttings begin to generate new leaves, you can slowly allow more air in through the top of the bottle, and then allow more air in through the bottom.
Glass bottles offer many advantages to preppers that want a versatile vessel that will remain durable for years on end. Unlike plastic, if a glass bottle becomes contaminated, you can easily disinfect it by boiling or adding other cleaners that would destroy plastic. Plastic is best used for short term, disposable applications, but glass bottles are the ones that will withstand the test of time.
Adding a few glass bottles to your stockpile is as easy as buying different foods stored in glass, and then making sure that you don’t throw the bottles out. While glass bottles may need a little extra care when being transported from one place to another, they are well worth the effort.
You might need them someday!
This article has been written by Carmela Tyrell for Survivopedia.


Tom Jackson | August 26, 2016
|
I keep bottles to refill with homemade vodka from potatoes. Also, Molotov cocktails are easily made with storm matches and gasoline. The Finns did well with these against the Soviets.