If you have an old computer, desktop or laptop, that is not working and just sitting gathering dust, then this article is for you!
Preppers believe in redundancy. Most usually have backups to their backups. At least, this is true when we are talking about water, food, medical supplies and ways to defend ourselves. But do you have redundancy with your digital files?
Over the years, I have acquired a great number of free PDF’s and ebooks, like The Preparedness Review. I have also made digital copies of important documents, just in case something happens to the originals. I usually save my digital files to my hard drive and then have a back up too. With the low cost of USB thumb drives or flash drives, this should be a no brainer for all preppers.
However, if you have an old computer or laptop collecting dust, you can use the hard drive that is in those old machines as a backup as well. Utilizing these hard drives is super easy and doesn’t cost too much. Plus, there might be data on those old hard drives that you might want to retrieve. This short tutorial will show you how to do it!
My computer was gathering dust…literally
When I started Prepper Website, I pretty much worked off my desktop. Back in the day, it was super fast! I had it built by a company that provided a lifetime warranty. What would you know, after working with that company for many years, it went out of business. So when my desktop started acting up, I moved to my laptop and never looked back.
I eventually moved the desktop to my garage and let it sit there for about two years. I figured I should do something with it, because it was just taking up space, but I didn’t want to give up all the preparedness data that I had gathered throughout the years. So, I decided to open it up and salvage the hard drives. I purchased an enclosure, which will be used so that I can access the data by connecting it through a USB connection with my laptop. Below you will see how easy this was to do. I have a lot of pics and I have included some videos that I found on Youtube too.
Salvaging my hard drives for preparedness
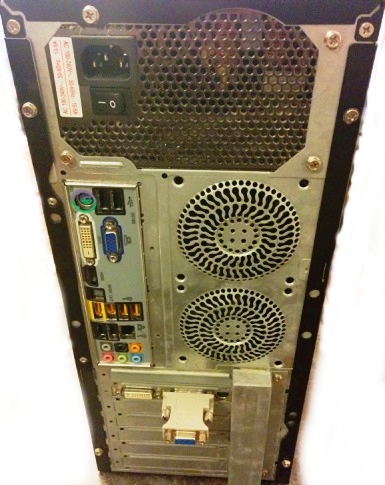
Step 1 – I had to remove the two screws on the right so that I can remove the side panel to get access to the hard drives that were installed in the computer.
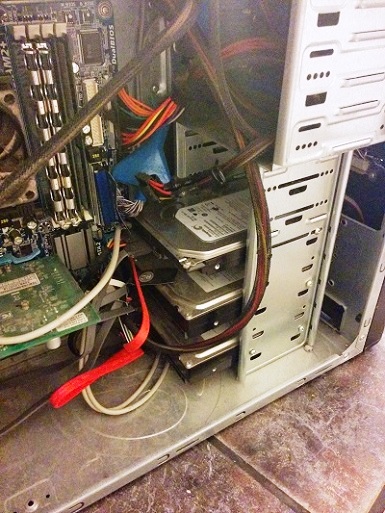
Step 2 – Unplug the wires connected to the hard drive. You might have to remove plugs on the motherboard too. If you think you might get this computer fixed at some point, make a note of where those plugs are connected. If you are going to donate the parts or chunk the rest, then don’t worry about it. NOTE: It is a good practice to ground yourself when working inside your computer. Simply make sure you are touching a metal portion of the computer enclosure.
Step 3 – Remove the hard drive. My computer had three hard drives. Each hard drive is secured by two screws. Every computer is a little different though. Your hard drives might come out the front and have slides on them.
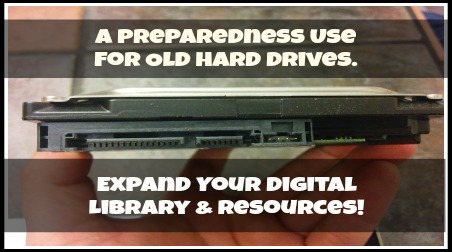
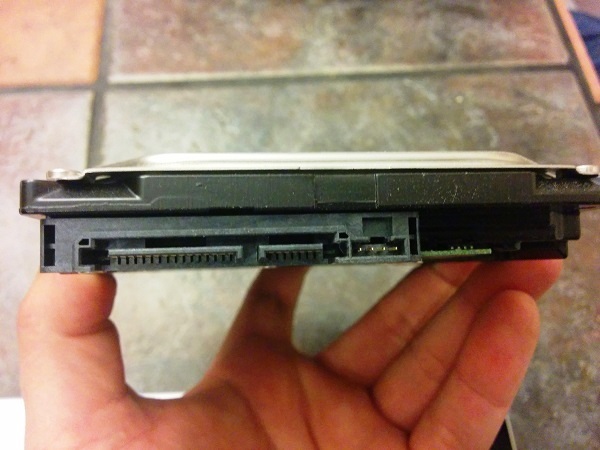
Step 4 – Identify the type of hard drive you have. The hard drive above is an SATA hard drive. It is a more modern hard drive compared to and IDE hard drive. The documentation on the top of the hard drive would also tell you what kind of drive it is and the capacity. This hard drive is 500 gigs. That’s a lot of preparedness resources!!! For a video tutorial on identifying hard drives – click here.
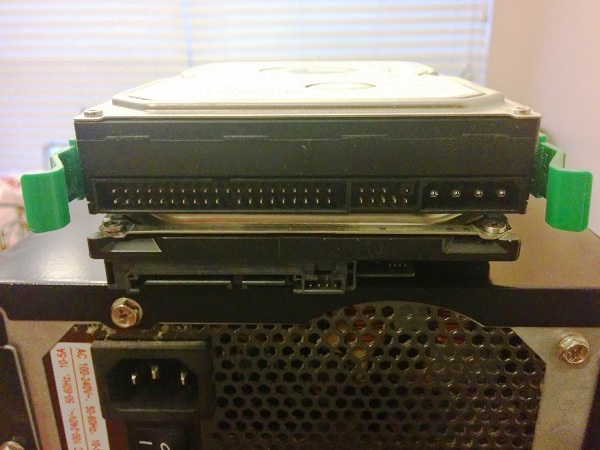
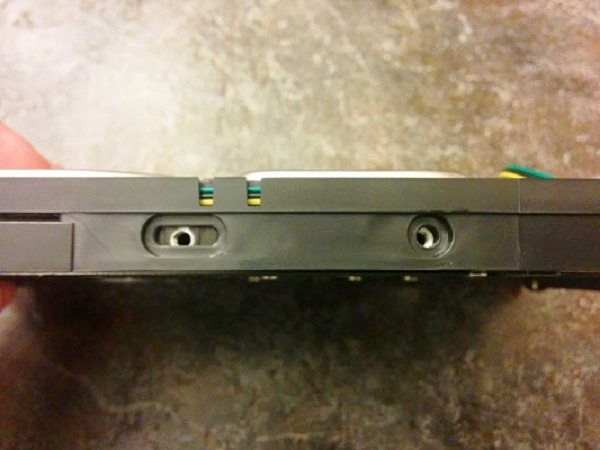
The pic above is of two hard drives stacked on top of each other. The one on top, with the green slides, is an older IDE hard drive. The one below is the SATA hard drive that I just removed from my computer. This is important to know because you need to match the type of enclosure with the type of hard drive you have.
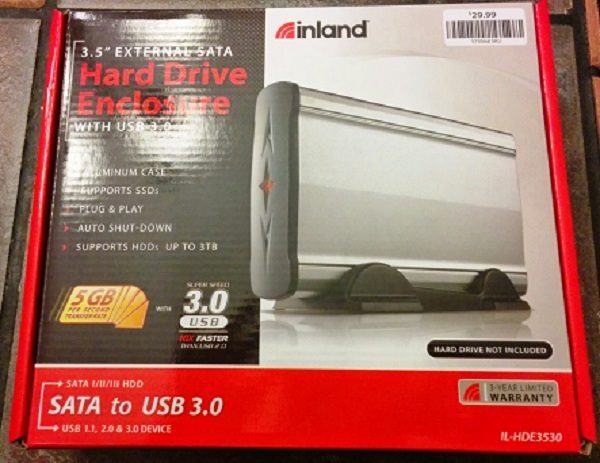
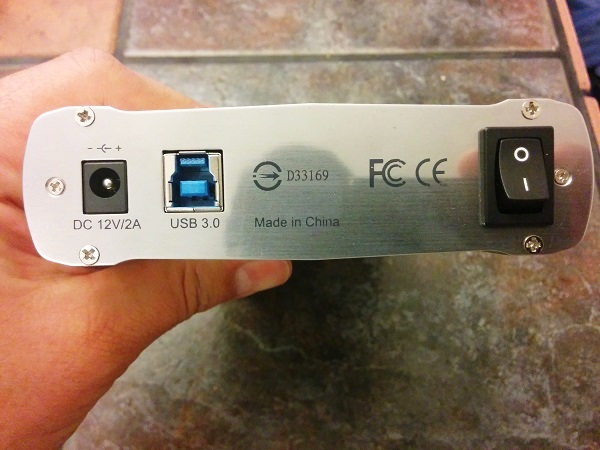
The enclosure that I chose is made by Inland. It is plug and play, meaning you don’t need any special software to access it. You just plug it in to your computer through a USB connection and you are good to go. This one transfers through a 3.0 USB connection, but will work with a 2.0 and 1.1 USB. As you might have guessed, 3.0 is faster than 2.0 or 1.1.
I purchased mine from Micro Center. If you don’t have one close by, you can purchase one on Amazon – Click Here.
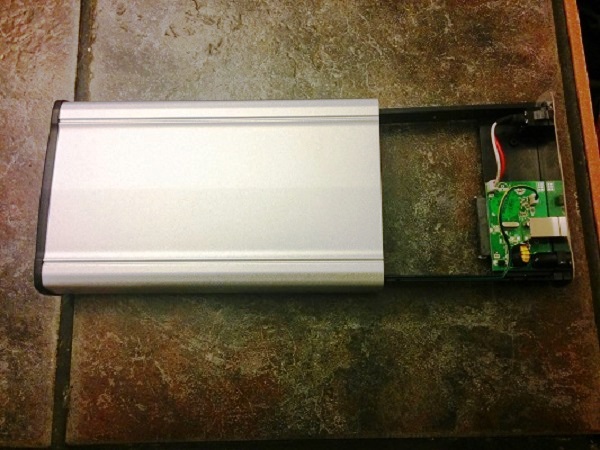
Step 5 – Unbox the enclosure and slide out the back. Notice the connection at the back. This is all the electronics that are included.
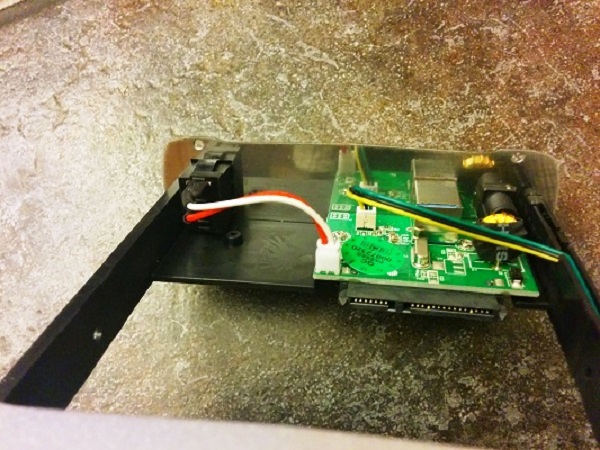
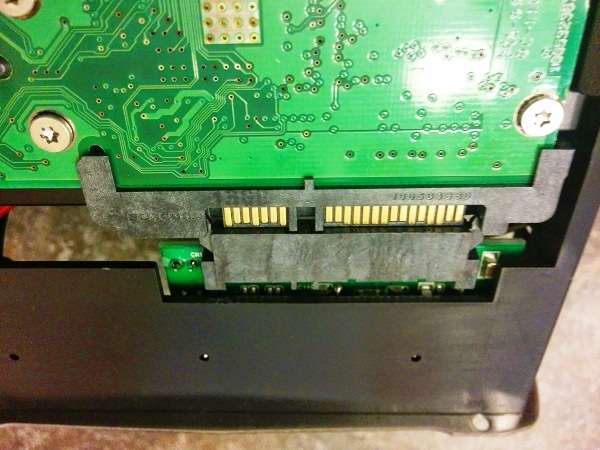
Notice the connections on the enclosure. You will want to line these up with the connections on the hard drive.
Here is a pic of the hard drive and enclosure being connected. Notice that this one will snap when it is completely secured. Don’t force this. If you damage the connection, you might ruin your hard drive.
Step 6 – Secure the hard drive to the plastic slide. Each side should have 2 screws. Make sure that the connections are still secure while you do this.
Step 7 – Secure the plastic slide to the outside enclosure by screwing in the 4 small screws.
Step 8 – Connect the USB cord (included) to your computer or laptop and the power cord (included) to the power, turn the power on the enclusre and boot up your computer. Any modern operating system should identify the connection right away. Your new hard drive enclosure will act very much like a big USB thumb drive or flash drive.
If you would like to see this done on video, I have included on below. The main difference in this video is that the hard drive used is an IDE har drive.
For laptop hard drives too!
If you happen to have an old laptop that is not worth getting fixed, you can pull the hard drive out of it as well. Sometimes, pulling the hard drive out of a laptop is easier. It usually consists of one panel on the bottom of the laptop. If you need help, you can find a tutorial on Youtube.
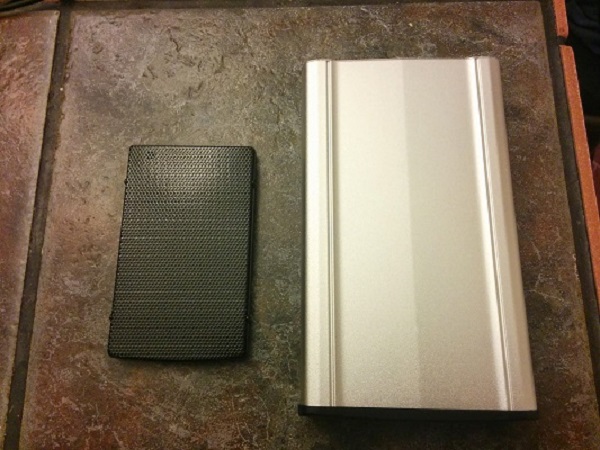
The pic above shows my laptop enclosure next to my new Inland enclosure.. The difference between the enclosure is that the laptop enclosure doesn’t need a power supply. It is powered through the USB connection. To purchase a laptop enclosure, click here.
Conclusion
Through the years, I have done my share of replacing laptop screens, desktop power supplies, motherboards, memory, fans, etc… However, there always comes a time when it is not worth it to fix an old laptop. At that point, you have several options, one is pulling the hard drive and using it for something purposeful.
Again, the hard drive enclosure that I purchased from Micro Center is a little bit more expensive on Amazon. However, there are many good options on Amazon to choose from. Just make sure you choose one with good reviews. Don’t get overwhelmed, it really isn’t rocket science. To shop hard drive enclosures on Amazon – Click Here!
Do you have a hard drive that is collecting dust?
This article has been written by Tod Sepulveda and first published on Edthatmatters.com.





Pingback:A Preparedness Use for Old Hard Drives | TheSurvivalPlaceBlog | January 26, 2015
|