When it comes to survival, water is of utmost importance.
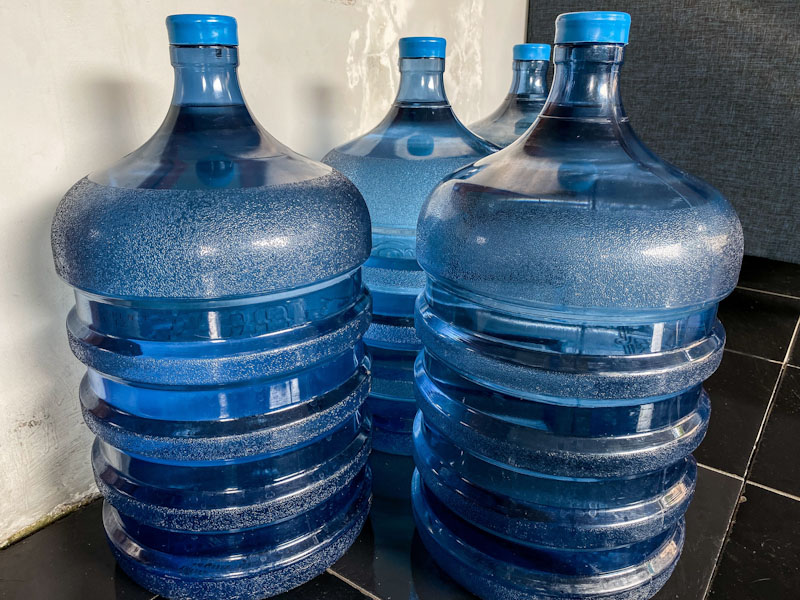
The problem with water is that it’s pretty hard (as in heavy and voluminous) to carry it on your person, especially when you’re on the move.
That makes the problem even more difficult: if you don’t have water with you when you’re hiking, walking, riding your bike, or whatever, chances are you’ll get dehydrated, and then you’ll be in a world of hurt. Dehydration is a very serious problem, especially in extreme climates (very hot and very cold), as it sets in quickly and makes your life miserable.
That’s why hydration packs were invented in the first place –keeping your body hydrated at all times is absolutely crucial for staying healthy, especially for elderly folk.
As you get older, your body literally dries out, causing your ligaments and tendons to lose their resistance and flexibility. Staying hydrated if you’re a senior citizen is critical to maintaining optimal health.
Regardless of one’s age, poor hydration leads to dry/itchy skin, which is a pest for women, not to mention constipation, nose bleeds, fatigue, headaches, sinus pressure, sneezing/coughs, urinary tract infections (the body can’t wash out the germs accumulating in the bladder if you don’t drink enough water).
All of these conditions result of toxins accumulating in your body. Also, poor hydration is the main enemy of your immune system and it leads to all sorts of imbalances: pH, nutritional, and chemical.
Chronic dehydration is the main cause of daytime fatigue, which seems to be endemic in our modern society, especially among teenagers who rarely drink water nowadays. They have Gatorade, right?
Overall, we lose 3 quarts of water per day and half of that is through breathing alone. If you have a dynamic/active lifestyle, i.e. you walk a lot or you’re into physical labor. If you jog or you’re a workout aficionado or whatever, you’re playing in a different league.
The simplest way to determine if you’re properly hydrated is to check out the color of your urine. If it’s light yellow, you’re okay; if not, chances are you’re not drinking enough water.
Keep in mind that eating certain foods like carrots, beets, fava beans, or asparagus may turn your urine orange, green, red, or brown and the same goes for certain types of medication.
This preamble brings us to the camelbak idea, an interesting piece of gear that is currently used in various scenarios by both civilians and military forces, basically in every type of strenuous outdoors activity.
Now, the question is: do you want to spend (at least) 40-50 bucks on a water bag or would you rather DIY? I bet you fall in the latter category; that’s why you’re reading this article.
The good news is that you can DIY your own water bag with minimal costs and you’ll end up with a very convenient way to carry half a gallon of water on your person – a nice trick which comes handy during camping trips and what not.
This proven-to-work portable device provides clean fresh water 24/7!
How to DIY a Water Bag
A CamelBak water bag is basically a fancy looking plastic bladder/reservoir with a straw. That about sums it up.
The hydration capacity ranges from 1.5 to 3 liters (50-100 oz) and it comes with all sorts of bells and whistles you’d expect from a professional piece of gear.
But simply put, what we’re dealing with here is a bladder filled with water with a straw which can cost up to 150 bucks. Paying that kind of money for a plastic bladder is a little bit rich for my taste.
So, the main thing to do to make a DIY water bag is to get yourself a dirt-cheap/free-of-charge bladder, and that’s not very hard if you know where to look for it.
To begin with, there’s a school of thought that says something along these lines: DIY-ing your water bag (the bladder respectively) is not very smart, as most plastics and glues are not food-safe and, after all, you’ll be filling them with water and all that jazz (think BPA).
However, you can still buy a food-grade bladder from a local camping store, but the price may be a deal breaker now and then. The best things in life are free, right?
Project 1
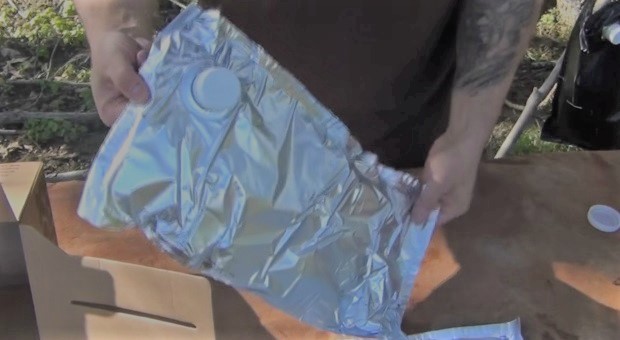
That brings us to the first DIY water bag project. This guy recycles the innards of a Dunkin Donuts Box of Joe. The bladder inside these bad boys is not made of plastic, hence it doesn’t leave that unpleasant taste of plastic, water-hose like, in your water supply. And that’ s because the bladder inside that box is made from Mylar.
In order to prevent the bladder from getting punctured and what not, you may use a dry-bag for protection.
Video first seen on Don Yackel.
Project 2
Here is another guy with a pretty cool idea about how to protect the Mylar/plastic bladder from getting punctured.
Spoiler alert: he uses 12 feet of duct tape for creating some sort of armor/outer shell for his water bag.
Video first seen on Snowalker13.
Project 3
The second idea is to use the bladder that can be found in certain types of boxed wine. The bladder can be removed and re-used as a water container.
The bag inside the boxed wine is just as good as the more expensive platypus, not to mention that you’ll end up with 2 liters of wine in the process (if you don’t pick up the box wine from the garbage, like our guy).
Video first seen on 123Homefree.
Another interesting idea about how to make a sleeve for your water bag (regardless of what type of bladder you end up with) is to use a large envelope. Just think about those 3M bubble mailers cushioned with plastic.
Now that you know how to make your own water bag, discover how to DIY your own portable device for an endless water supply.
Click the banner below for more!
This article has been written by Chris Black for Survivopedia.
References
http://www.instructables.com/id/Camelbak-Unbottle-DIY/


